Split app into components in react native
In this chapter, you will learn about how to split an app into components react native. As the application grows bigger it may difficult understand the flows. So for making it easy to understand and maintain the code, its good practice to split your application into multiple smaller components.
In the previous application, we have created a small application which provides a functionality to add product titles and lists all the items. Now let’s break the App.js components into the separate components. Let’s write an example of the same.
Follow the below steps,
Step 1:
Create a file: src/components/ListProduct.js and paste the below code
import React from 'react';
import { Text, View, StyleSheet } from 'react-native';

const ListProduct = (props) => {
  return (
      <View>
      <Text style={styles.itemList}> {props.productTitle} </Text>
      </View>
  )
}


const styles = StyleSheet.create({
  itemList: {
    marginVertical:10,
    marginHorizontal:10,
    padding: 10,
    borderColor: 'black',
    borderWidth: 1,
    alignItems: 'center'
  }
});

export default ListProduct;
Step 2:
Open the App.js and paste the below code
import React, { useState } from 'react';
import { StyleSheet, Text, View, TextInput, Button } from 'react-native';
import ListProduct from './src/components/ListProduct';

export default function App() {
  const [productName, setProductName] = useState('');
  const [productList, setProductList] = useState([]);

  const addProduct = () => {
    setProductList((products) => [...products, productName]);
  };

  const addProductTitle = (productTitle) => {
    setProductName(productTitle);
  };

  return (
    <View style={styles.container}>
      <View>
        <TextInput
          placeholder="Product title"
          style={styles.inputs}
          onChangeText={addProductTitle}
          value={productName}
        />
        <Button
          style={styles.addButton}
          title="Add title"
          onPress={addProduct}
        />
      </View>
      <View>
      {
        productList.map((item) => <ListProduct productTitle={item} /> )
      }
      </View>
    </View>
  );
}

const styles = StyleSheet.create({
  container: {
    marginTop: 50,
  },
  inputs: {
    marginVertical: 10,
    marginHorizontal: 10,
    padding: 10,
    borderColor: 'black',
    borderWidth: 1,
    alignItems: 'center',
  },
  addButton: {
    marginVertical: 10,
    marginHorizontal: 10,
    padding: 10,
    borderColor: 'black',
    borderWidth: 1,
    width: '80%',
    alignItems: 'center',
  },
});
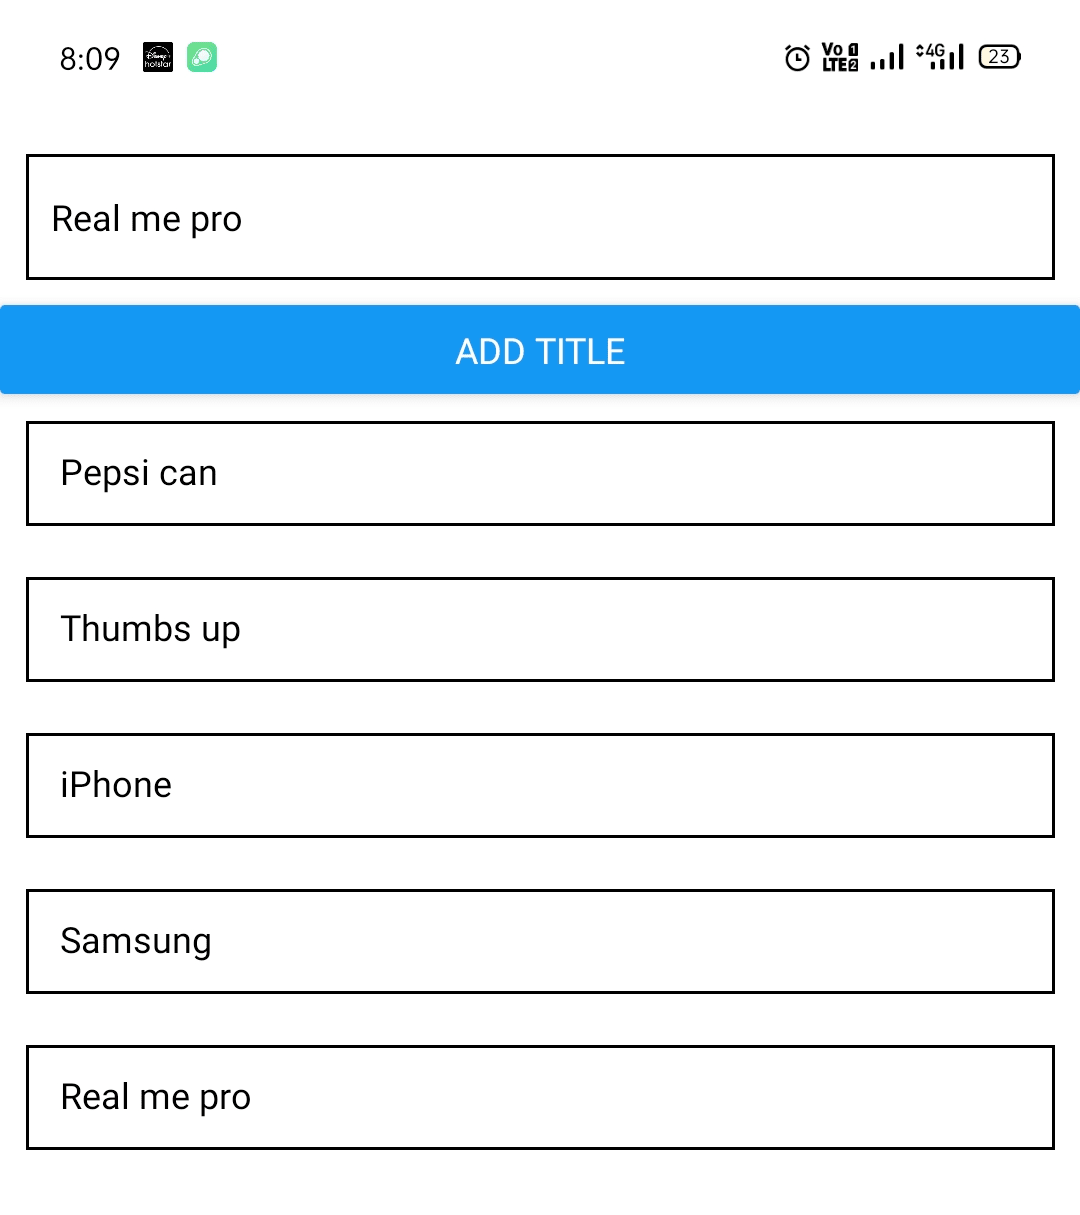
In the App.js file, we have imported our custom component ListProduct, and we calling this while listing the products. Now you should see the below output.